table of contents
Can You Really Bake Easy Bread Recipes for Beginners at Home Without Stress?
Have you ever dreamed of baking your own bread but thought it was too complicated or time-consuming? The truth is, making bread doesn’t have to be intimidating. With the right guidance, even beginners can whip up delicious loaves with just a few simple ingredients and some patience. Whether you’re craving warm, crusty sourdough or soft, pillowy dinner rolls, Easy Bread Recipes for Beginners will show you how to get started today . So, why wait? Let’s dive into the world of homemade bread and discover how easy—and rewarding—it can be!
Overview: Why These Bread Recipes Are Perfect for Beginners
These Easy Bread Recipes for Beginners are designed to take the guesswork out of baking. They use minimal ingredients, straightforward techniques, and forgiving methods that make them perfect for those new to bread-making.
- Time Requirement: Prep time varies from 15 minutes to an hour, with additional resting and baking times ranging from 2 to 4 hours. Some recipes, like no-knead bread, require little hands-on effort .
- Difficulty Level: Easy to moderate. Most recipes involve basic mixing, shaping, and baking steps, making them accessible even if you’ve never baked before .
- Special Features: These recipes are versatile—you can customize them with herbs, spices, or mix-ins to suit your taste. Plus, there’s nothing quite like the smell of freshly baked bread filling your home!
Whether you’re looking for a quick weeknight project or a weekend baking adventure, these recipes will help you build confidence in the kitchen.
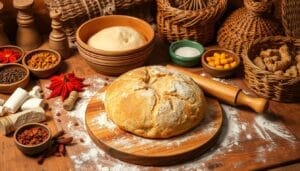
Essential Ingredients: The Building Blocks of Great Bread
Here’s what you’ll need to create these amazing breads:
- Flour: All-purpose flour is the most common choice for beginners because it’s widely available and easy to work with. For gluten-free options, try almond flour, rice flour, or a gluten-free blend .
- Water: Lukewarm water activates yeast and helps develop gluten in the dough. Always check the temperature—too hot, and it may kill the yeast; too cold, and it won’t activate properly .
- Yeast: Active dry yeast or instant yeast works well for most beginner-friendly recipes. If you want to explore sourdough, you can start by creating your own starter using just flour and water .
- Salt: Salt enhances flavor and strengthens the structure of the dough. Don’t skip it—it’s essential for good bread!
- Optional Add-ins: Olive oil adds softness to sandwich bread, while honey or sugar can sweeten the dough. Herbs, seeds, or nuts add texture and flavor variety .
Substitutions and Variations:
- Swap all-purpose flour for whole wheat flour for added nutrition, keeping in mind that whole wheat absorbs more liquid .
- Use plant-based milk instead of water for extra richness.
- Experiment with different seasonings like rosemary, garlic powder, or cinnamon for unique twists .
Step-by-Step Instructions: From Prep to Perfection
Let’s break down one of the easiest bread recipes—a classic no-knead bread—into simple steps:
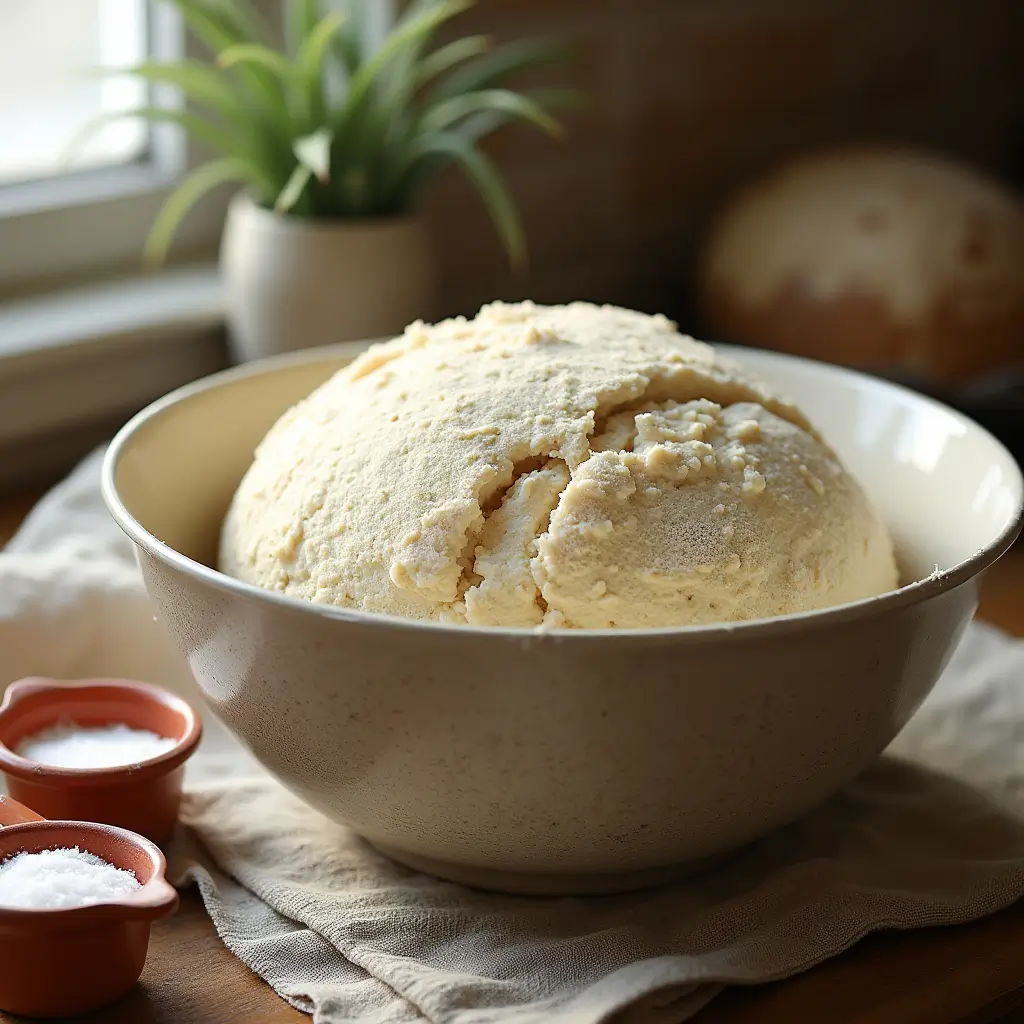
- Mix the Dough:
- In a large bowl, combine 3 cups of all-purpose flour, 1 teaspoon of salt, and ¼ teaspoon of active dry yeast. Add 1½ cups of lukewarm water and stir until a shaggy dough forms. Cover the bowl with plastic wrap or a damp towel and let it rest for 8-12 hours (or overnight) at room temperature .
- Shape the Loaf:
- After resting, the dough should be bubbly and doubled in size. Gently fold it onto a floured surface, shape it into a round loaf, and place it seam-side down on parchment paper. Let it rise again for 1-2 hours, uncovered .
- Preheat Your Oven:
- Preheat your oven to 450°F (230°C). Place a Dutch oven or heavy pot with a lid inside to heat up as well. This creates steam during baking, which gives the bread its crispy crust .
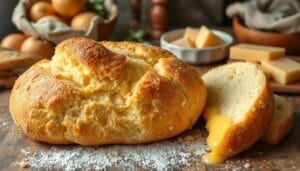
- Bake the Bread:
- Carefully transfer the risen dough (on the parchment paper) into the preheated pot. Cover with the lid and bake for 30 minutes. Remove the lid and bake for another 10-15 minutes, or until the crust is golden brown .
- Cool and Slice:
- Allow the bread to cool completely on a wire rack before slicing. Cooling ensures the crumb sets properly and prevents the bread from being gummy .
Assembly: Building Your Masterpiece
The beauty of this recipe lies in its simplicity. Start by combining the basic ingredients—flour, water, yeast, and salt—to form the dough. Once it has rested and risen, gently shape it into a loaf without overworking it.
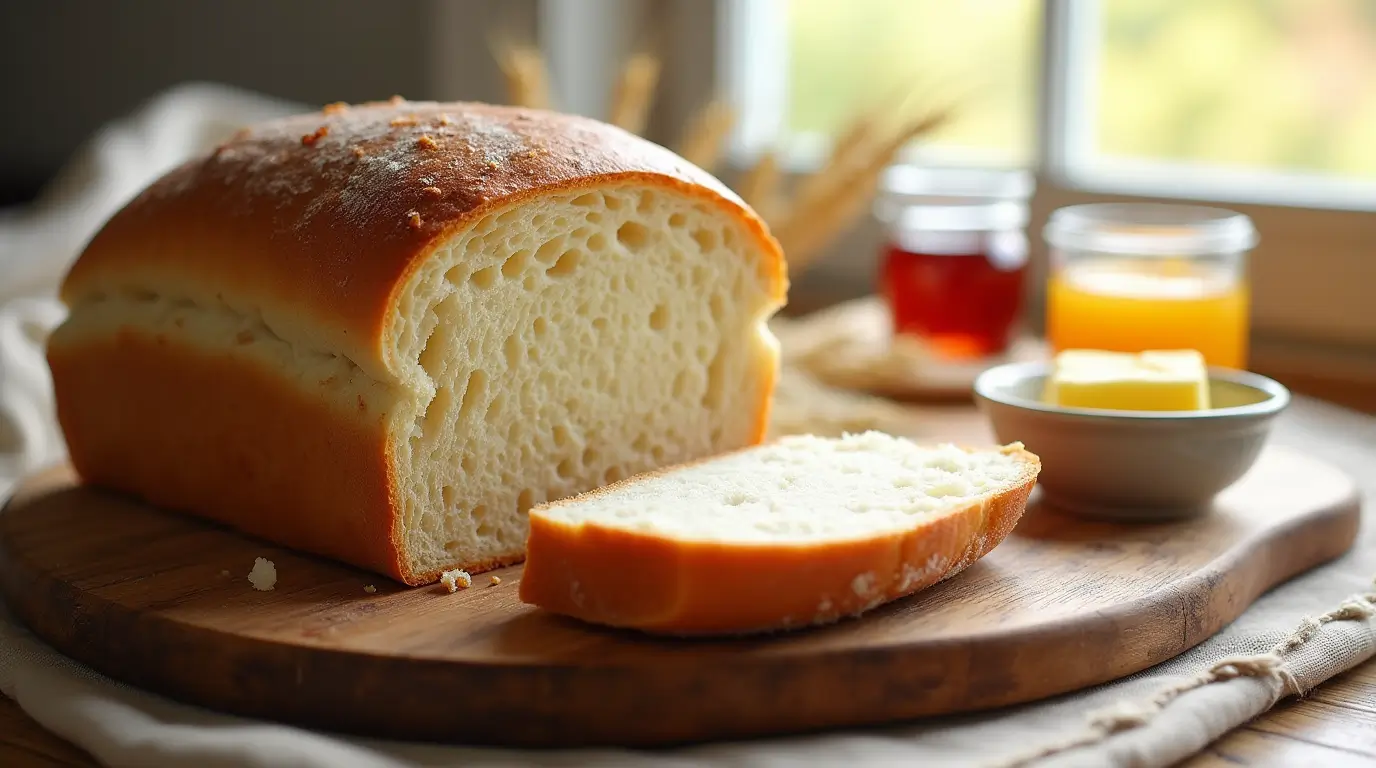
Presentation Tips:
- Dust the finished loaf with flour before scoring (cutting slits) on top for a rustic look.
- Serve slices with butter, jam, or olive oil for a delightful appetizer or snack .
- Wrap the bread in linen or burlap fabric for a charming presentation at gatherings .
Storage and Make-Ahead Tips: Keep It Fresh
One of the best things about homemade bread is how well it stores when done correctly:
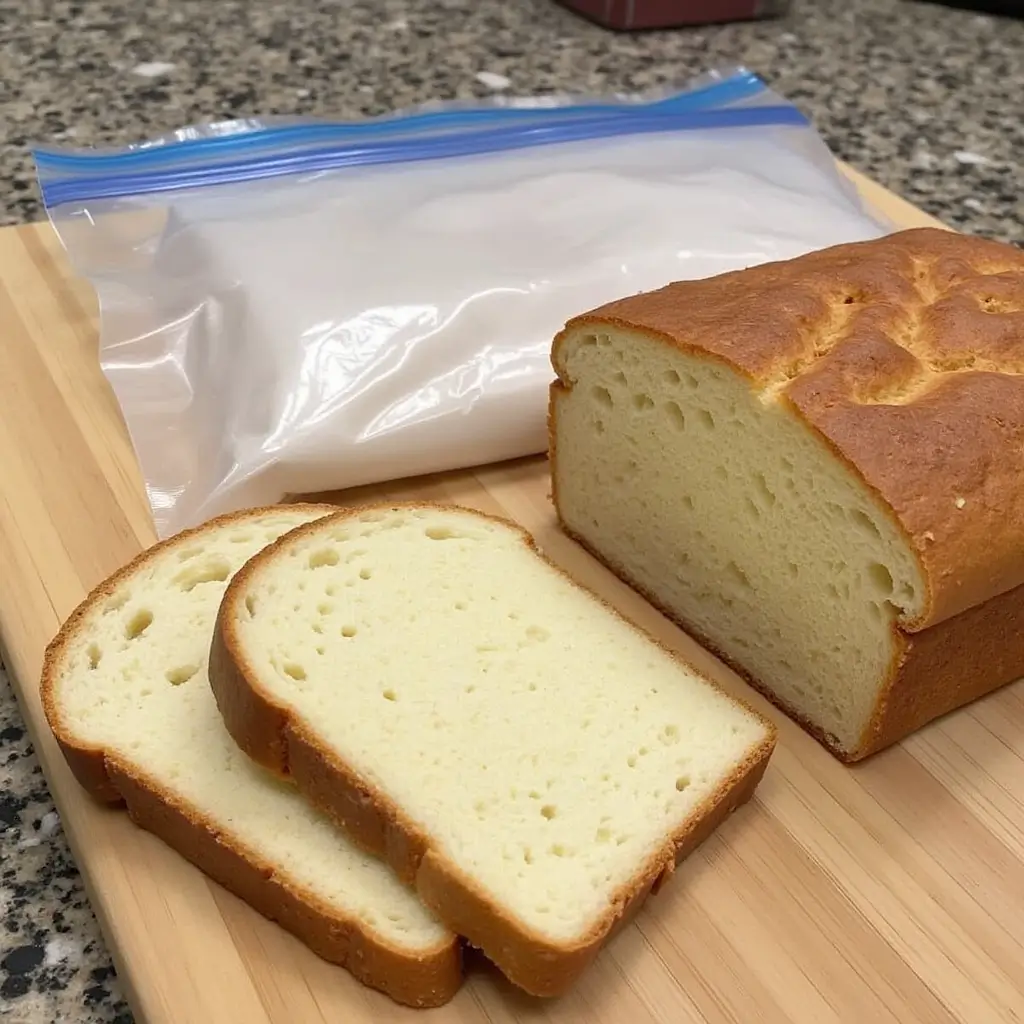
- Room Temperature: Store in a paper bag or loosely wrapped in a clean kitchen towel for up to 2 days. Avoid plastic bags, as they trap moisture and soften the crust .
- Freezing: Slice the bread and freeze in a ziplock bag for up to 3 months. Thaw slices at room temperature or toast directly from frozen .
- Reviving Stale Bread: Sprinkle the loaf with water and bake at 350°F (175°C) for 5-10 minutes to refresh stale bread .
- Make-Ahead Option: Prepare the dough ahead of time and refrigerate for up to 3 days. Bring it back to room temperature before shaping and baking .
Recipe Variations: Get Creative!
Don’t be afraid to experiment with different combinations:
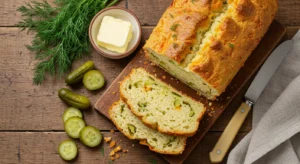
- Herb-Infused Bread: Add dried rosemary, thyme, or oregano to the dough for a fragrant twist .
- Cheese and Garlic Bread: Fold shredded cheese and minced garlic into the dough before shaping .
- Sweet Cinnamon Rolls: Turn the dough into sweet rolls by adding sugar, cinnamon, and a cream cheese glaze .
- Gluten-Free Options: Use gluten-free flour blends and xanthan gum to adapt traditional recipes for dietary needs .
These variations allow you to tailor the recipe to your tastes or dietary requirements while keeping the essence of Easy Bread Recipes for Beginners intact.
Conclusion: Time to Get Baking!
There you have it—the ultimate guide to making Easy Bread Recipes for Beginners. With their simple ingredients, straightforward techniques, and endless customization options, these recipes are sure to become staples in your kitchen. Whether you’re baking for family meals or hosting friends, fresh-baked bread always brings warmth and joy to any occasion. So grab your ingredients, roll up your sleeves, and enjoy the magic of baking your very own bread.
FAQs: Answering Your Burning Questions
Q: Do I need special equipment to bake bread?
A: Not necessarily! While tools like a stand mixer or Dutch oven can help, most recipes only require bowls, measuring cups, and a regular oven .
Q: How do I know if my yeast is still active?
A: Dissolve the yeast in lukewarm water with a pinch of sugar. If it bubbles after 5-10 minutes, it’s alive and ready to use .
Q: Can I make bread without kneading?
A: Yes! Many beginner-friendly recipes, like no-knead bread, rely on long fermentation times to develop gluten naturally .
Q: What makes homemade bread better than store-bought?
A: Homemade bread is fresher, healthier (no preservatives!), and allows you to control the ingredients and flavors .
Now that you know all the secrets to mastering Easy Bread Recipes for Beginners, it’s time to unleash your creativity. Happy baking!
Did you love it ? Let us know!
There are no reviews yet. Be the first one to write one.